With only one month until Kat and I move into our house, I’m starting to cross projects off of my to-do list. I recently saw this picture on pinterest, but I was disappointed that there was no tutorial. After unsuccessfully looking around for one, I figured I should just make my own:
Supplies:
- 3-4 pieces of barn wood (I found 4 pieces at my cottage)
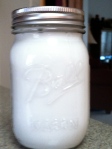
- Modge podge (Make your own! 1/2 elmer’s glue, 1/2 water, shake)
- Medium sized paint brush
- Map poster (I bought mine here for $5 with shipping!)
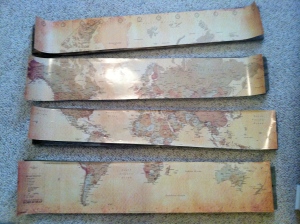
The first step is to cut the map into strips the size of the boards. One reason I bought such a cheap map is because it killed me a little having to cut it up.
Next, pick one of your boards and apply a coat of modge podge right onto the wood. Lay your piece of map on the board and add another layer on top. After you’ve added a layer on top, use your hands to push out any air bubbles. You can also use the paint brush, but I found it wasn’t as effective as hands. The last optional step is to rip the edges. The edges look more natural if they are ripped when the paper is wet from the modge podge. There’s no specific way to do this, it depends how distressed you want it to come out.
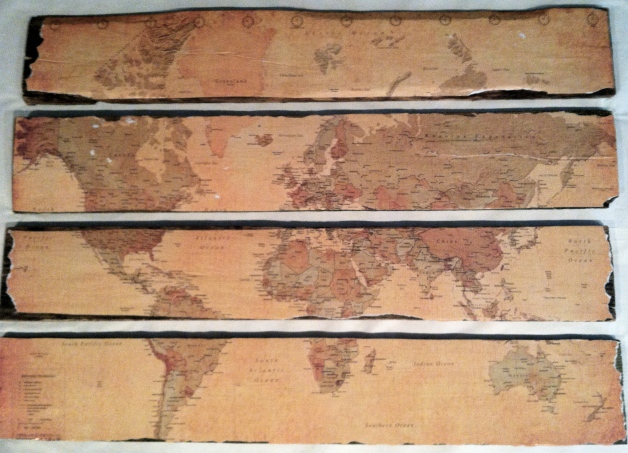
Repeat the steps with each board, let dry, and that’s it! The final product has a nice matte finish and the map appears to be printed on to the wood boards. I plan to hang this in our living room using command strips.


